How To Change Laptop Keyboard
How to change laptop keyboard
Laptop keyboard
Laptop Keyboard Replacement
Learn how to change laptop keyboard
💻 How to Change a Laptop Keyboard – Step-by-Step Guide
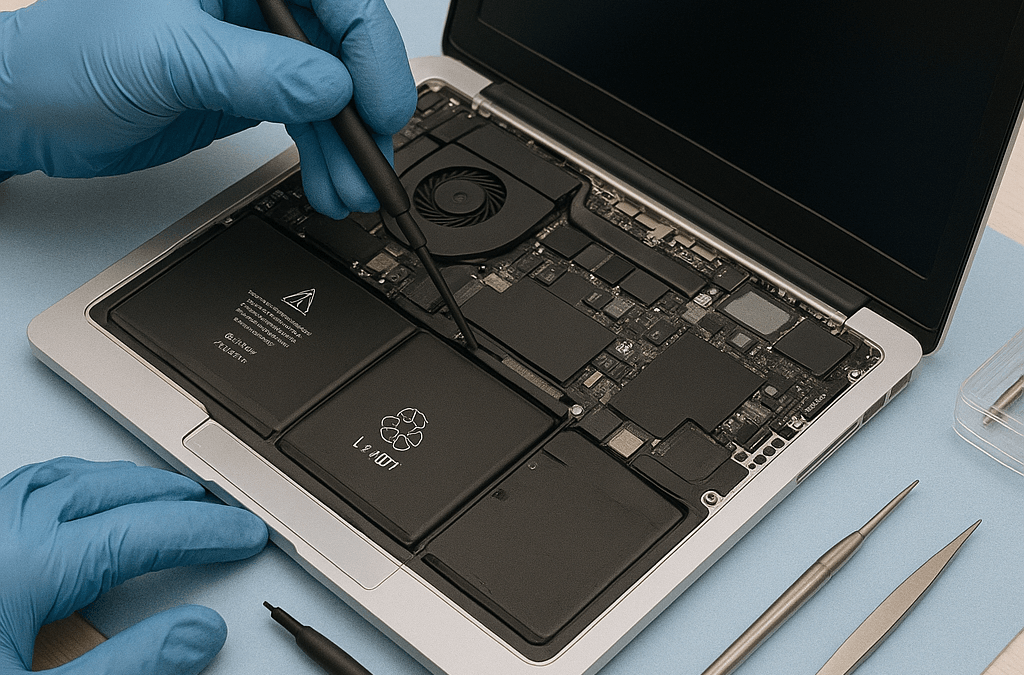
Replacing a laptop keyboard depends on the model, but the core steps are generally the same. Some laptops have removable top panels, while others require partial disassembly.
🧰 Tools You’ll Need
-
Small Phillips screwdriver
-
Plastic spudger or pry tool
-
Tweezers
-
Anti-static wrist strap (optional but recommended)
-
New compatible keyboard (OEM or high-quality replacement)
⚙️ Step-by-Step Process
1. Turn Off & Unplug the Laptop
-
Shut down the laptop completely.
-
Disconnect the power adapter.
-
Remove any external devices (USB, HDMI, etc.).
2. Remove the Battery (if removable)
-
For laptops with removable batteries, slide the latches and take it out.
-
For internal batteries, you may need to open the back panel later.
3. Open the Laptop Casing
Depending on your laptop model, one of two approaches will apply:
A. Top-Access Models (Common in Older Laptops)
-
Open the laptop lid fully.
-
Use a plastic spudger to gently pry up the keyboard bezel (thin plastic strip above the keyboard).
-
Unscrew any screws holding the keyboard in place.
-
Lift the keyboard slightly (usually from the top) and tilt it forward.
B. Bottom-Access or Full Body Laptops (Common in Modern Devices)
-
Flip the laptop over.
-
Remove all screws securing the back panel.
-
Detach the back panel to access internal components.
-
Locate and remove screws securing the keyboard from inside.
-
Disconnect any ribbon cables connecting keyboard to motherboard.
4. Disconnect the Keyboard Ribbon Cable
-
Carefully unlock the cable connector (usually has a latch).
-
Gently pull out the ribbon cable using tweezers or your fingers.
5. Replace the Keyboard
-
Align the new keyboard properly.
-
Insert and lock the ribbon cable back into the connector.
-
Screw the keyboard back into place or snap it in, depending on design.
6. Reassemble the Laptop
-
Replace the battery and back panel (if removed).
-
Screw everything back in securely.
✅ 7. Power On and Test
-
Turn on the laptop.
-
Test every key, especially:
-
Spacebar, Enter, Backspace
-
Function keys
-
Touchpad (if connected through keyboard)
-
🛡️ Pro Tips
-
Always check compatibility before ordering a replacement keyboard.
-
Be gentle with ribbon cables — they’re delicate and easy to damage.
-
Keep track of screws — some are of different lengths.
-
Use a screw tray or magnetic mat for organization.

+91 7307802120
admin@pro-fixtech.com